

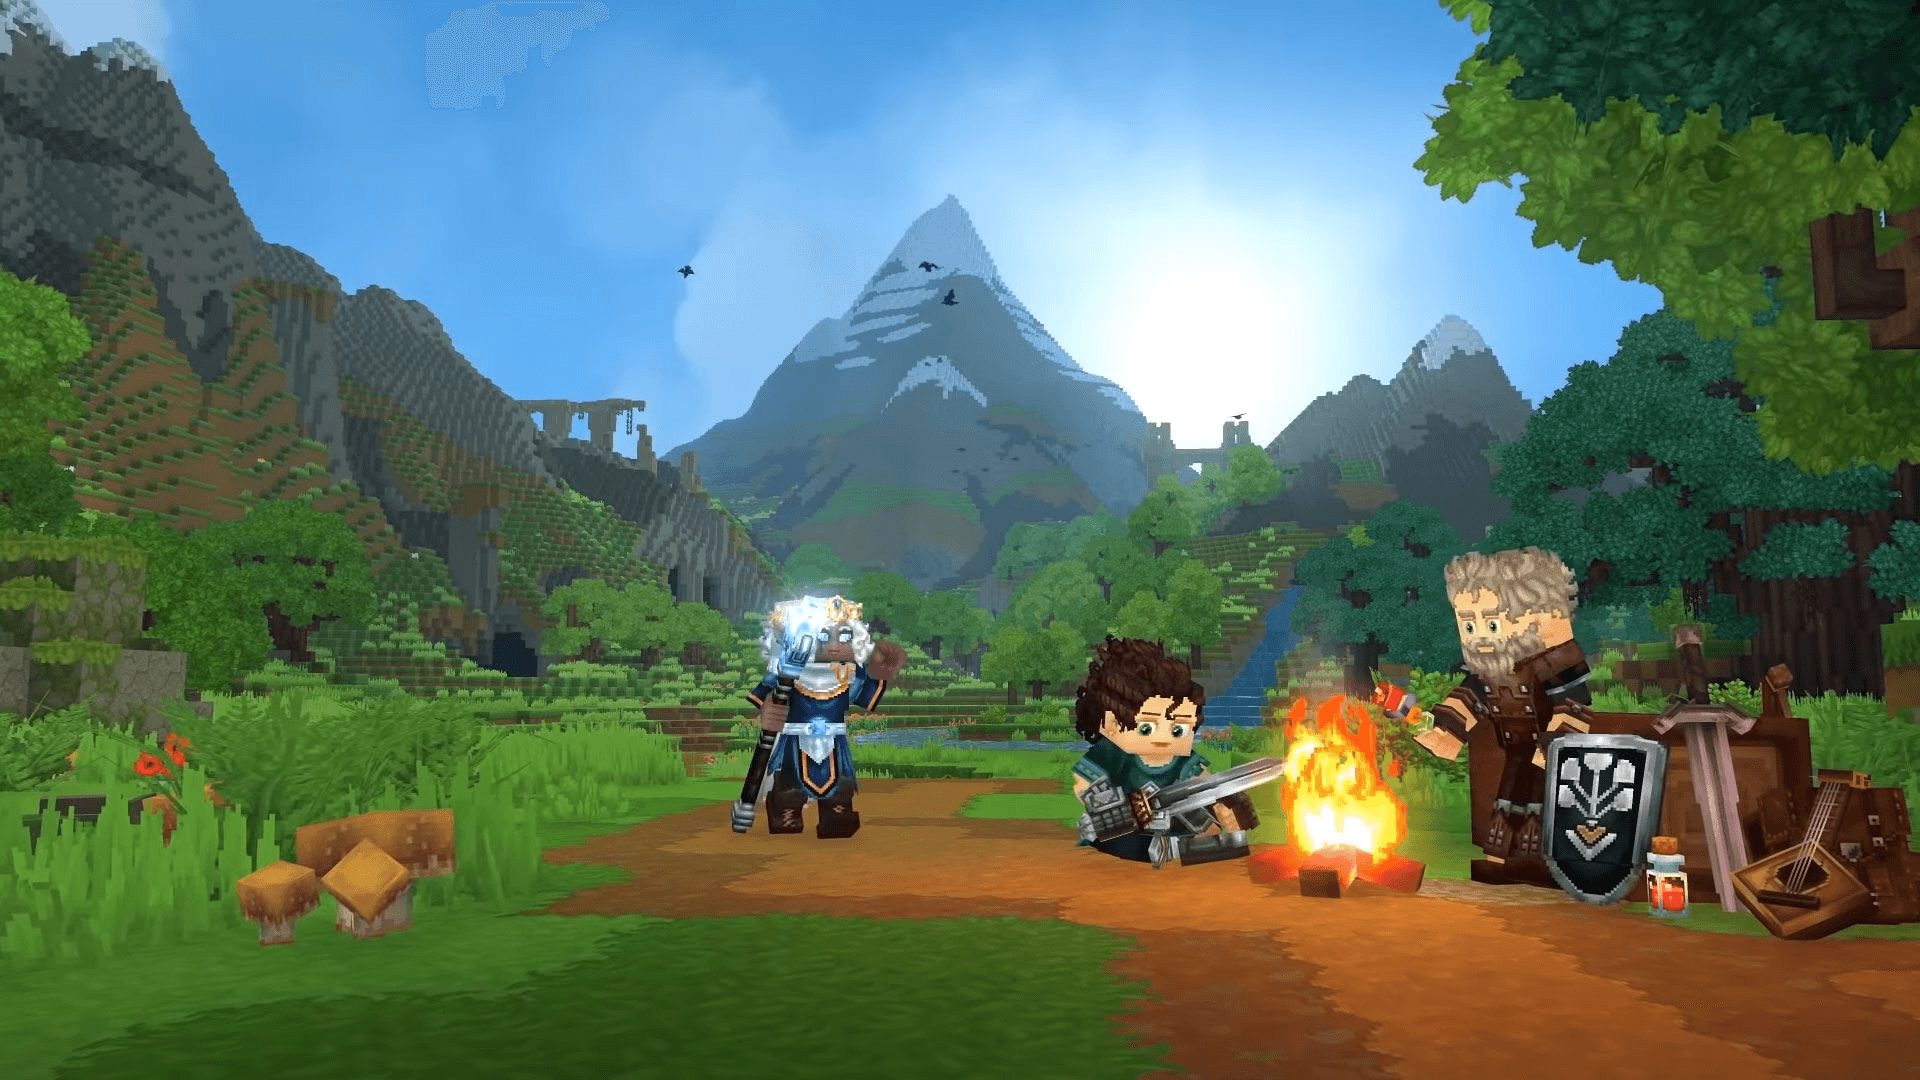
Mods are one of the most exciting parts of Hytale. They can completely change the experience, from new gameplay mechanics and custom blocks to RPG systems, quality-of-life improvements, and more.
If you want to install mods on your Hytale server, the general process is straightforward once you understand how server files, mod folders, and dependencies work.
This guide explains the usual process of installing mods on a Hytale server, so you know what to expect as the Hytale modding ecosystem continues to grow.
Watch Our Video Guide
What You Need Before Installing Mods
Before you start, make sure you have the following:
- A working Hytale server
- Access to your server files through your panel or FTP
- Compatible Hytale mods that are designed for multiplayer or server use
- A basic understanding of how to restart your server
⚠️ Always make sure a mod is intended for server use. Some mods may be client-side only and will not function properly on a multiplayer server.
Step 1: Find Your Server’s Mods Folder
Most Hytale server setups will use a dedicated folder for mods, usually something like:
/mods
or
/server/mods
If the folder does not already exist, you can normally create it manually. When the server starts, it will check this folder for installed mods.
Step 2: Upload the Mod Files
After downloading your chosen mod:
- Extract the files if they come in a compressed format such as ZIP or RAR
- Upload the mod files into your server’s mods folder
- Keep each mod in its own folder if that is how the mod creator recommends it
Some mods may also include extra files such as:
- Configuration files
- Dependencies or required libraries
- Setup notes or documentation
It is always worth checking the documentation before starting the server.
Step 3: Configure the Mod
Some mods include settings you can customise, such as:
- Gameplay balance
- Spawn rates
- Permissions
- World behaviour
These config files are often created the first time the server starts with the mod installed. If you do not see them right away:
- Start the server once
- Stop the server again
- Edit the generated config files
Step 4: Restart the Server
Once your mod files are uploaded and configured:
- Fully restart your Hytale server
- Watch the console during startup
- Look for messages showing that the mod loaded correctly
If the mod fails to load, the console will often tell you why. Common reasons include:
- Missing dependencies
- Incorrect folder structure
- Outdated mod version
- Compatibility issues
Step 5: Make Sure Players Have the Correct Mods
If a mod changes gameplay, content, or interface elements, players may also need the same mod installed on their side.
Typical scenarios include:
- Server-side only mods — no client install needed
- Gameplay or UI mods — players usually need the same version
- Content mods such as custom blocks, items, or systems — usually required on both client and server
Version mismatches are one of the most common reasons players fail to join a modded server.
Troubleshooting Common Issues
If something is not working, check the following first:
- ❌ Mod not showing in-game — check the folder structure
- ❌ Server will not start — look for missing dependencies or broken files
- ❌ Players cannot join — check for client-side version mismatches
- ❌ Features are not working correctly — review the config files and setup instructions
If you are unsure which mod is causing the issue, remove them one by one until the server starts correctly again.
Final Thoughts
Installing mods on a Hytale server gives you the freedom to build a much more custom experience, whether you want a simple quality-of-life tweak or a heavily modified world with unique systems and mechanics.
Once you understand where mods go, how they are loaded, and how to manage their configs, running a modded Hytale server becomes much easier.
As Hytale continues to evolve, modding tools and server support will likely improve even further, making the whole process even smoother.
Happy modding 🚀