

Step 1: Log In to Your HTNetwork Account
- Open your web browser and go to HTNetwork's website.
- Click the Login button located at the top-right corner of the homepage.
- Enter your email address and password linked to your HTNetwork account.
- Press Login to access your account dashboard.
Step 2: Access Your VPS in the HTNetwork Client Area
- After logging in, click My Products & Services from the dashboard or navigation menu.
- Find the VPS service you want to access.
- Click the service name or the View Details button next to it. This will take you to the service details page.
- Under the Overview section, click the Information button. This will load the Virtualizor control panel for your VPS. It may take a few seconds.
Step 3: Retrieve Your VPS Login Information from Virtualizor
- After the Virtualizor panel loads, you will find important details about your VPS, including:
- Server IP address: This is the unique address you will use to connect to the VPS. It will look something like 123.45.67.89.
- Username: This is often the default username, such as Administrator.
- Password: This is the root password you’ll use to log in to your VPS.
- Take note of these details, as you will need them for the next step.
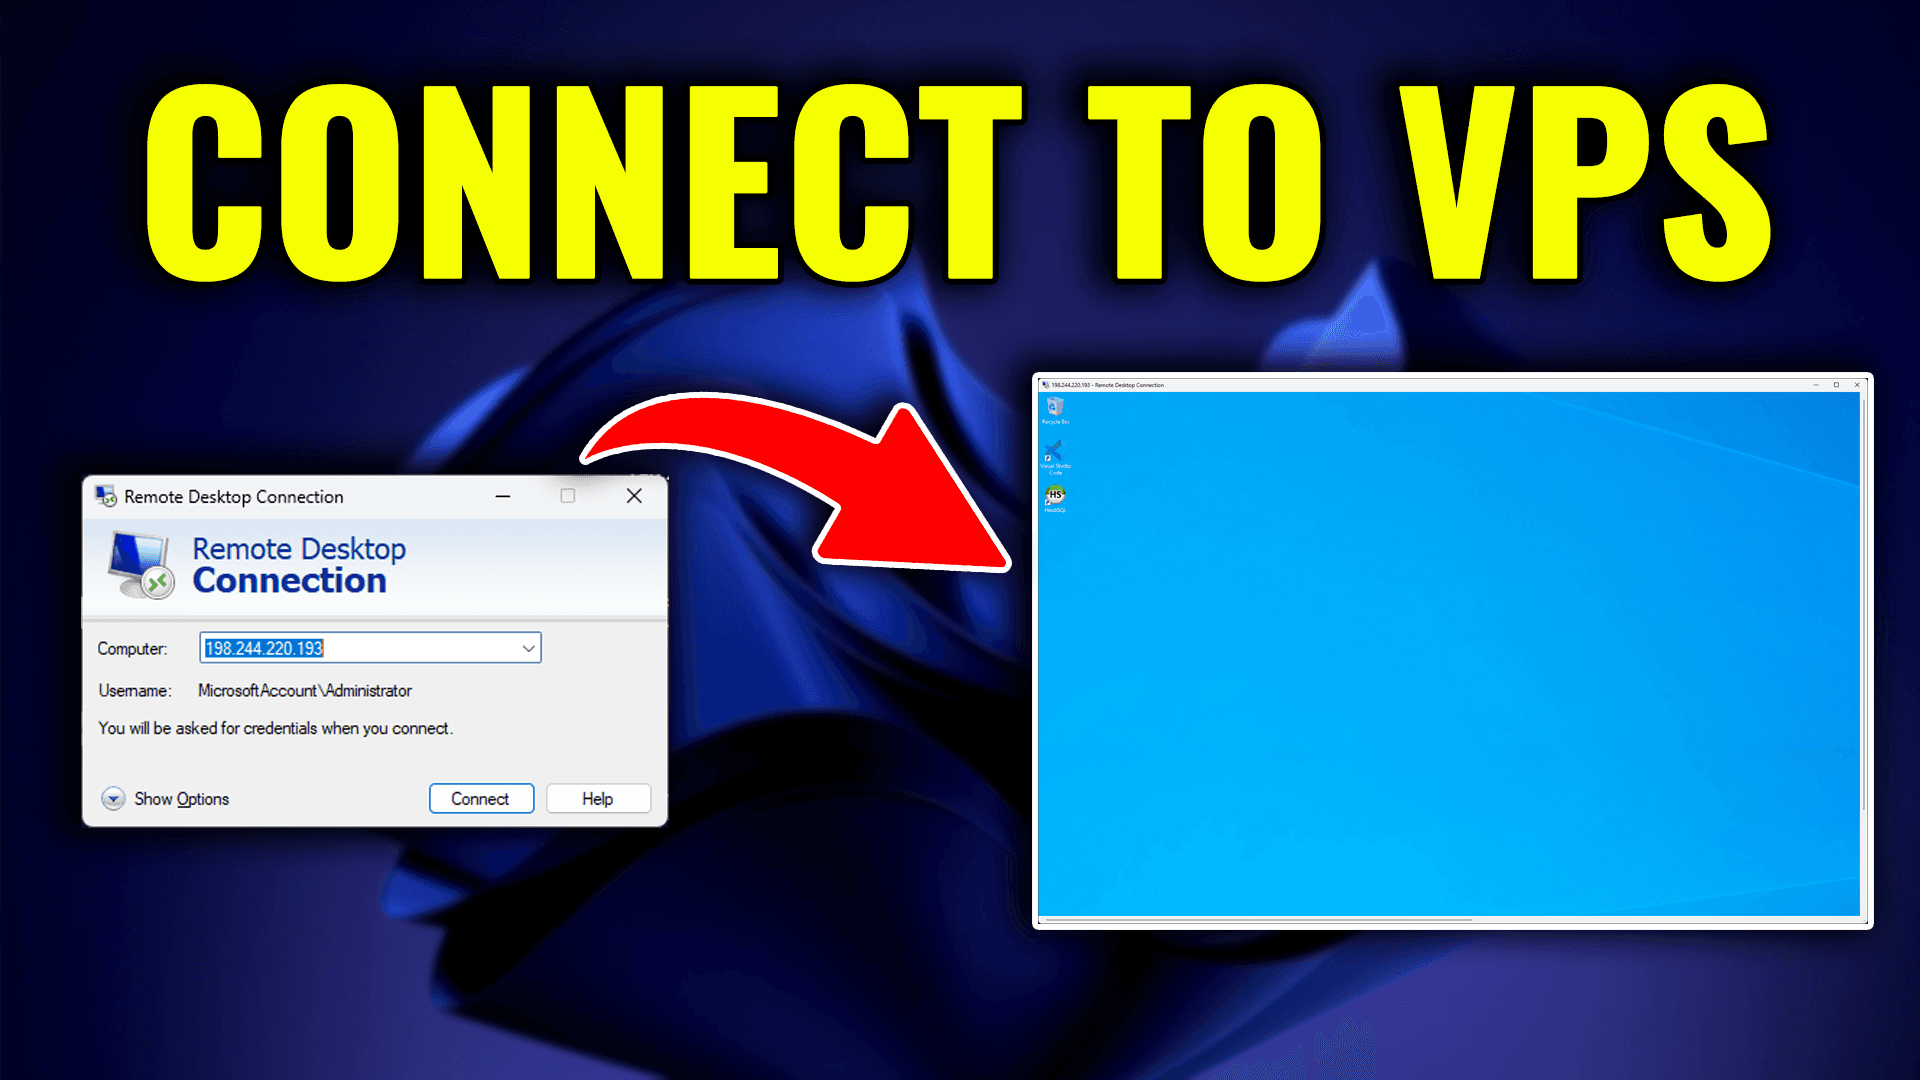
Step 4: Open the Remote Desktop Connection Application
- On your Windows computer, press the Windows key or open the Start menu.
- Type Remote Desktop Connection in the search bar and open the application.
- In the Computer field, enter the Server IP address you retrieved from the Virtualizor panel, for example 123.45.67.89.
- Click Connect.
Step 5: Log In to Your VPS
- A window will appear asking for your login credentials:
- Enter the Username shown in the Virtualizor panel, likely Administrator.
- Enter the Password, which is your root password.
- Click OK to proceed.
Step 6: Accept the Certificate Warning (If Prompted)
If a certificate warning appears, don’t worry. This is normal. Click Yes to continue connecting to your VPS.
Step 7: Access Your VPS
Once you complete these steps, you will be successfully logged in to your VPS and can start managing it via Remote Desktop. You’ll now have full control over your server to perform tasks such as installing software, managing files, and configuring settings.
Troubleshooting Tips
- Incorrect Password: Make sure you copied the correct root password from the Virtualizor panel. If needed, reset the password within the panel.
- Connection Issues: Verify that your firewall or security settings allow Remote Desktop connections. Also make sure your VPS is running and accessible from the Virtualizor control panel.
- RDP Disabled: If Remote Desktop Protocol (RDP) is disabled on your VPS, log in to the VPS via VNC on your dashboard. Then go into Windows settings and enable Remote Desktop.